Showing posts with label Crafting. Show all posts

Thursday, May 10, 2012

Magnetic Vintage Paper Dolls Tutorial

I used to make decorative magnets when I was younger, out of those magnets that businesses would hand out.  I'd peel off the top, put my own stickers or images on, cut around, and top with some sealant, like Mod Podge. So when I came across these vintage paperdoll images online, 

http://tpettit.best.vwh.net/dolls/pd_scans/index.html

I thought "How cool would it be to do the same thing!?"  No business card magnets would be big enough, so my online quest for magnetic sheeting had begun.  I was also concerned that the magnets might not stick to each other well with the layer of sealant, when I came across this:


Now to you that were already 'in the know', this discovery might not be such a big deal.  However, I was quite surprised that they made such a thing.  Jeromy's always telling the kids they shouldn't have magnets near the computer. So, although skeptical, I asked him to pick some up for me. If they did work, it would certainly save me a couple of steps, and make the sealant unnecessary. They are around $12.00 at OfficeMax, have 5 sheets in a package, and are completely worth every penny!


Put the sheet in the printer, set to print on Specialty Paper.  When it started coming through, I had to hold up the end of it a little so it didn't bunch up.


Now you have your print outs. Use a pair of sharp scissors to cut around all the pieces.  I used a pair of embroidery scissors, because they are small, sharp, and precise.


They weren't as strong magnetically, as I had thought they would be, which turned out to be a blessing in disguise.  They stick to each other perfectly on a magnetic surface, but NOT AT ALL when they are put away, so you can easily store them without having to worry about peeling them apart all the time! :)


Aren't they great?! My girls are going to love them! I chose to use all 5 sheets on Betsy McCall print outs, because there are a lot of clothing options. Also there are 2 girls; one blonde, one brunette, and the clothes fit them both the same. I made a set for each of my girl's birthdays. There are Betsy McCall holiday dolls and outfits, so I'll make those for the girls for Halloween, Christmas etc.


There were so many different doll choices on just that site alone. Plus other websites I came across. You could even scan in images of old paper dolls if you have any, or create your own from portraits of your kids, or pictures that you draw. The possibilities are endless! 

Happy crafting!
-Kelly

Monday, May 7, 2012

We saw, we coughed, we crafted

We all had a really good time this weekend. Crafting, picking flowers, playing in the sand and on the bouncer. Enjoying the sunshine. However, my oldest was home sick again today from school :(  I really thought she was going to be able to go, as she seemed to be feeling a lot better on Sunday. Alas, my girl is still sickly, so we did some more relaxing, and crafting, and popsicle eating. Hopefully she will be feeling better tomorrow!


-Kelly


Sunday, May 6, 2012

Great week

It's been a pretty great week.  We started out the week with a  'Kids day' at my friend Julie's and the girls had a blast!  They're really awesome people, so we always enjoy our time over there.


All the girls painted wooden picture frames, and then got their pic taken together.  Jewel's printed them up to put in the frames.  Such a cute idea!


The girls played on a trampolene for the first time. All of the adults were cracking up at the static fros.


Also this week, we made some jewelry,


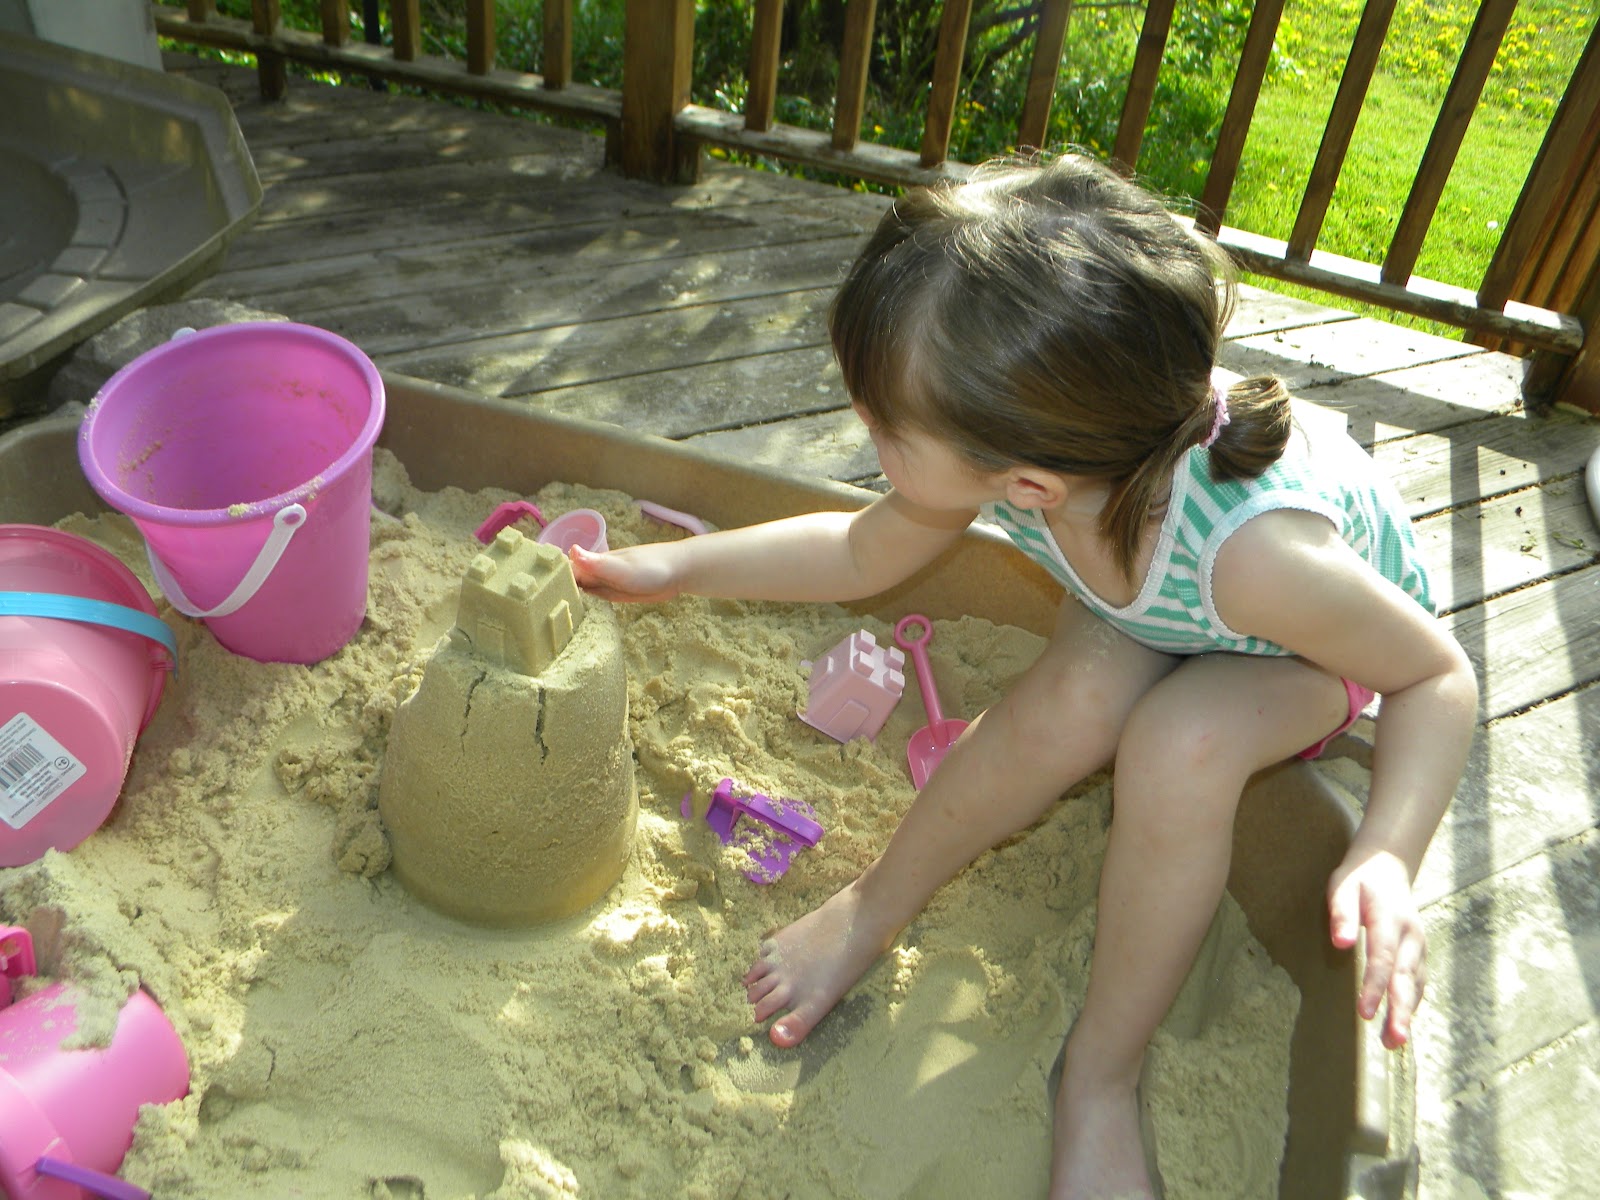
played with new sand and sand toys,


and enjoyed butter tarts for my parents anniversary! (my mom makes THE best!)


Last but not least, my littlest one went to the bike rodeo at school yesterday, and had a lot of fun!


She ate cotton candy, got her face painted, and got a chance to sport that awesome bike helmet of hers. Since C was still sick, she stayed home with me, and we crafted, watched cartoons, and had popsicles.
Going to have a cookout today.  Happy Sunday!

-Kelly


Thursday, July 21, 2011

Homemade is AWESOME!

I have gotten so many wonderful, thoughtful gifts in my life, but nothing touches my heart more, than something handmade. Whether it's a hand drawn card, a quilt, a thoughtfully crosstitched picture, or macaroni jewelry, it's all a beautiful work of art. Something someone cared enough to put time and effort into, for me, or my family. All of it means so much, and today I thought I would share some pictures of some handmade gifts, that I think are fabulous!

A crosstitch that my mom made for my eldest daughter. I am absolutely in love with it! She made one in purple for my youngest, and has made some for my cousin's girls as well.  It's such a beautiful pattern.  I love the frame that it's in too, I think my dad does a great job framing all of my mom's pieces!


A doll blanket from my grandfather.  He's the one that taught me how to knit. He and my grandmother would do practice swatches to get used to a pattern before they made a whole blanket, and I got a new doll blanket.  Makes me smile and think of them both everytime I see my girls wrap it around one of their dolls.


These are my girls' first attempts at needlepoint on plastic canvas.  I think they are great, and I love that they came up with their own ideas, like adding the jewel stickers to them.


 Beautiful quilts that their Grandma Jan made for them. This one was before C was born.


This was for after she was born and we knew it was a girl! (we let it be a surprise with both)


This was for my youngest, after she was born. The picture doesn't do it justice...it's absolutely amazing, the attention to detail, the quilted horses!  Love it!


A baby blanket I got from my Aunt Bonnie at my baby shower. I've put away most of our baby blankets but not this one.  I couldn't, it's just so beautiful!


A doll that C's Grandma M made for her. So adorable, she plays with it almost everyday!  She made the cutest little red woolen outfit for it as well that'll I have to take a picture of next time she puts it on her.


The most coveted blanket in the house, also made by my wonderful mother-in-law!


And a pillow I've had for almost my whole life. My mother made it for me and it's been on my bed, everywhere I've ever lived.


Thanks to all the wonderful people out there who make homemade, and who appreciate homemade!

-Kelly


Felt flowers, and other projects

My husband bought me a copy of Mollie Makes a couple of weeks ago.  I was so happy we were able to get a copy here.  It's printed in the UK and is a lovely magazine!


All sorts of crafty goodness!  As you can see, it comes with a wonderful craft kit on the front, and I finally made mine last night.


Super cute!  I think I'm going to whip up a few more in different colors for some wonderful little girls I know...


Saturday, July 9, 2011

Camping Bed Tutorial

Have you ever went shopping for the right camping bed, and none of them were quite what you wanted?  You get one of the foam ones, and they're quite flat.  You get an air bed, and well, it's an air bed. Well, I wanted one that was as comfortable as my favorite pillow, and I didn't have a lot of money to spend, so I made my own, out of pillows. It's quite simple.

First, you have to get the amount of pillows you want.  I used 4, 2 ultra firms in the middle, and 2 firms on the ends.  ( I would suggest 8 if you wanna make a double) Then, you stitch them together on the seams. I did mine by hand with DMC floss for added strength, but if you pushed most of the loft to one side, you could probably do it on a machine as well.


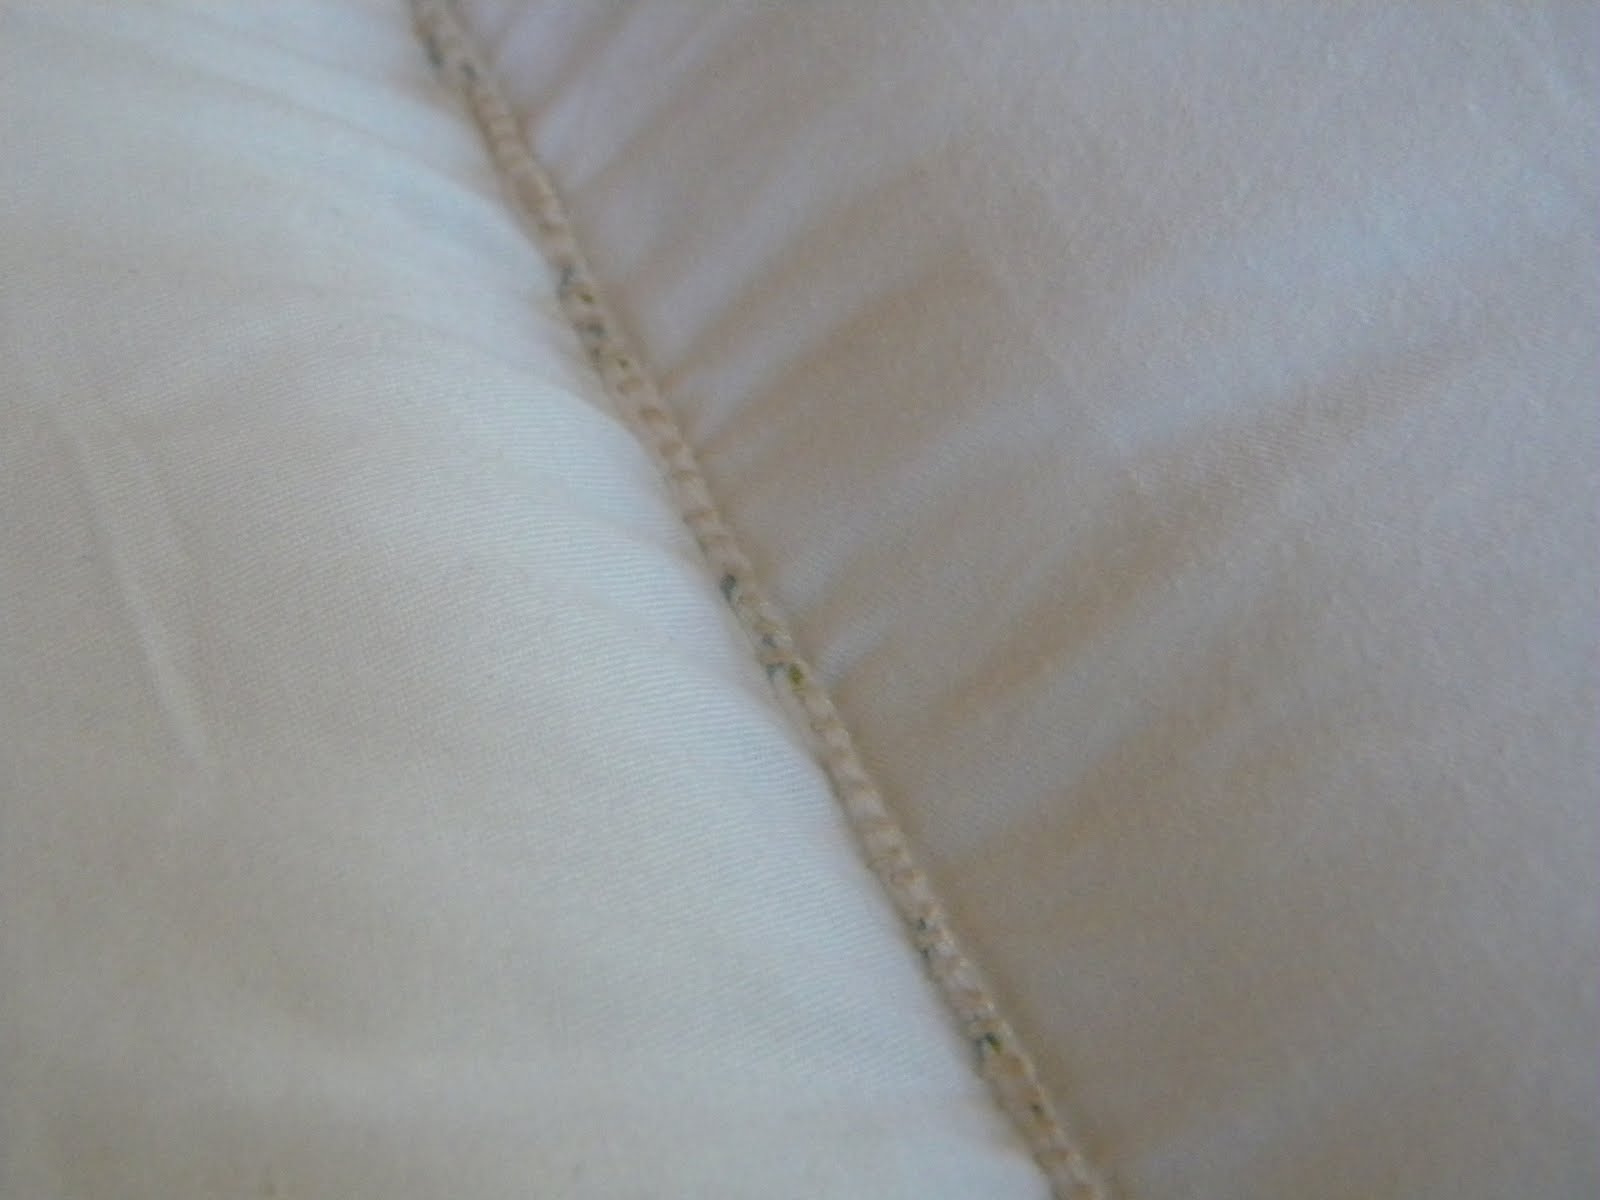
Your seam will look like this. Sew them all on the same side, so that the stitches will be on the bottom part of your bed.


This is what it should look like when you've sewed all the seams.


I wanted to make a cute cover for it (I'm still going to and I'll post pics when I do) but I'm short on time, since I need it for tonight.  So, I took a twin fitted sheet, and put it over it.


Even though it is slightly big for it, the elastic keeps it on there nicely!  Then, just take some wide ribbon,(or make your own out of fabric) and cut a 42" piece (more or less depending on the thickness of the pillows you chose) Fold the ends over 1/2" and hem them so they don't fray. Then sew on a fastener, such as snaps, or velcro.  I chose velcro squares.  Now roll up your pillow bed, wrap the strap, fasten, and you're ready to go!


Not the prettiest thing in the world with the fitted sheet (once again, beautiful covers will be made SOON) but oh so comfy! C-babe gives it 2 hands up!


And, if you kept all the seams to the same side, it becomes a comfy seat as well.  You can use it just about anywhere. Happy camping!


-Kelly


Wednesday, July 6, 2011

Cleaning, and summer crafts.

Cleaning today, making a lot of progress (I think!)  Hoping to get some sewing in later, after all the scrubbing and organizing.  The kids and I made some 4th of July pinecones the other day:


and of course they want to keep them out for a while! So I told them we could keep them out until the end of the week.  By then, we most likely will have made a craft to take it's place. 
So far this summer we have made the festive pinecones, plastic bag parachutes for their Rapunzel's that they launched from upstairs at G&G's:


 "Slime" for the girls to play with. It's goopy, and messy, but oh so fun for the kiddos!


Stand-up fairy cards in the girls fave colors.


Jewelry with pony beads and crochet string


and some glow-in-the dark bead jewelry that they wore to fireworks.


Wonder what we're going to make tomorrow?


Search This Blog