Showing posts with label Tutorial. Show all posts

Tuesday, June 5, 2012

Sickness and stitches

Hey all,  I've been working on a new embroidery!


It's completely sweet, and if you're interested you can get the free pattern here:

My oldest one's home sick again :(  Going to the doctors later.  In the mean time, she wants to play with all our "natural" toys.  She says she wants to live like Laura and Mary (from the Little House series) and that we can only play with the toys that are made out of wood, or handmade. 


So we pulled out all the wooden blocks and connectagons and dollhouse furniture, and all the rag dolls and knitted doll blankets and playfood, and it's keeping her occupied so far.  I read all the Little House books to the girls last year (leaving out certain parts that might not be age appropriate here and there) and they loved them!  So they begged me to read the first one again this week, which was cool with me because Little House in the Big Woods is my fave! We finished it last night, and no matter how many times I read it, I always tear up at the end.

"She was glad that the cosy house, and Pa and Ma and the fire-light and the music, were now. They could not be forgotten, she thought, because now is now.  It can never be a long time ago."

It has made me cry ever since I was little, I think because I never wanted to grow up, and have always had a problem with things changing.  And of course now that I am a mother, I wish my little girls could be little forever, and it just gets me.  I think every mother probably goes through the same thing. Guess it's just a good reminder to enjoy what is now, and live in the moment, for too soon, the moment will be gone. So here's to living in the moment!  Have a great day.


-Kelly

Thursday, May 10, 2012

Magnetic Vintage Paper Dolls Tutorial

I used to make decorative magnets when I was younger, out of those magnets that businesses would hand out.  I'd peel off the top, put my own stickers or images on, cut around, and top with some sealant, like Mod Podge. So when I came across these vintage paperdoll images online, 

http://tpettit.best.vwh.net/dolls/pd_scans/index.html

I thought "How cool would it be to do the same thing!?"  No business card magnets would be big enough, so my online quest for magnetic sheeting had begun.  I was also concerned that the magnets might not stick to each other well with the layer of sealant, when I came across this:


Now to you that were already 'in the know', this discovery might not be such a big deal.  However, I was quite surprised that they made such a thing.  Jeromy's always telling the kids they shouldn't have magnets near the computer. So, although skeptical, I asked him to pick some up for me. If they did work, it would certainly save me a couple of steps, and make the sealant unnecessary. They are around $12.00 at OfficeMax, have 5 sheets in a package, and are completely worth every penny!


Put the sheet in the printer, set to print on Specialty Paper.  When it started coming through, I had to hold up the end of it a little so it didn't bunch up.


Now you have your print outs. Use a pair of sharp scissors to cut around all the pieces.  I used a pair of embroidery scissors, because they are small, sharp, and precise.


They weren't as strong magnetically, as I had thought they would be, which turned out to be a blessing in disguise.  They stick to each other perfectly on a magnetic surface, but NOT AT ALL when they are put away, so you can easily store them without having to worry about peeling them apart all the time! :)


Aren't they great?! My girls are going to love them! I chose to use all 5 sheets on Betsy McCall print outs, because there are a lot of clothing options. Also there are 2 girls; one blonde, one brunette, and the clothes fit them both the same. I made a set for each of my girl's birthdays. There are Betsy McCall holiday dolls and outfits, so I'll make those for the girls for Halloween, Christmas etc.


There were so many different doll choices on just that site alone. Plus other websites I came across. You could even scan in images of old paper dolls if you have any, or create your own from portraits of your kids, or pictures that you draw. The possibilities are endless! 

Happy crafting!
-Kelly

Monday, August 1, 2011

Kim's Pillow

Here's a wonderful pillow that I made called Kim's Pillow.


Very orange. Very cute.  Here's how I made it!

First, go check out your fabric stash, and pick out which color(s) you want to use.   I chose about 8 different shades of orange. Then you have to make a bunch of 1 inch hexagons. Make as many as you would like, depending on how large you would like the pillow to be.  If you've never done english paper piecing, here's a great tutorial on how to make the hexies :
http://melissagoodsell.typepad.com/day_to_day/2011/02/fabric-hexagon-tutorial-by-bella.html

and if you don't have a hexagon pattern, here's a wonderful printout from texasfreckles.com :
http://texas-freckles.googlegroups.com/web/One%20Inch%20Hex%20Coloring%20Page.pdf?gda=vCjunWEAAADH46W6sZbbcSBivt0WAY7AmHW1yguyKbLuiDn2BAILoGsARUmSvtEkTHaI2-vGq-t1cNjHFSO5xdB8CiW53Y7NTxryxxKs0yoN45bW2buj_1MJP-kItwVPBwjdKujmMDOVcV4Kf5x1iV4X6-2IalYA

Ok! By now you have all your hexies made. Next you will need to stitch them all together if you haven't already.  I didn't make a pattern with mine, I just made sure that none of the hexies with the same fabric were next to each other.


Even up the edges, pick out a fabric for the back of the pillow, and cut it at least an inch biggger than the topper. You're going to be embroidering the back, so if you want to use a hoop, make it even bigger!  Choose the colors of embroidery floss you would like to use.  I chose 3 different shades of orange DMC floss, numbers 742, 946, and 3340. Then, start stitching!


You can embroider whatever you wish.  A design, a saying, etc.  I embroidered an uneven running stitch, and freehanded it for a more organic look.  When you are done embroidering the back, pin the front and the back facing each other, and sew around the edges, leaving about a 2 inch opening


invert, stuff, use an invisible stitch to stitch up the opening, and you're done!


Saturday, July 9, 2011

Camping Bed Tutorial

Have you ever went shopping for the right camping bed, and none of them were quite what you wanted?  You get one of the foam ones, and they're quite flat.  You get an air bed, and well, it's an air bed. Well, I wanted one that was as comfortable as my favorite pillow, and I didn't have a lot of money to spend, so I made my own, out of pillows. It's quite simple.

First, you have to get the amount of pillows you want.  I used 4, 2 ultra firms in the middle, and 2 firms on the ends.  ( I would suggest 8 if you wanna make a double) Then, you stitch them together on the seams. I did mine by hand with DMC floss for added strength, but if you pushed most of the loft to one side, you could probably do it on a machine as well.


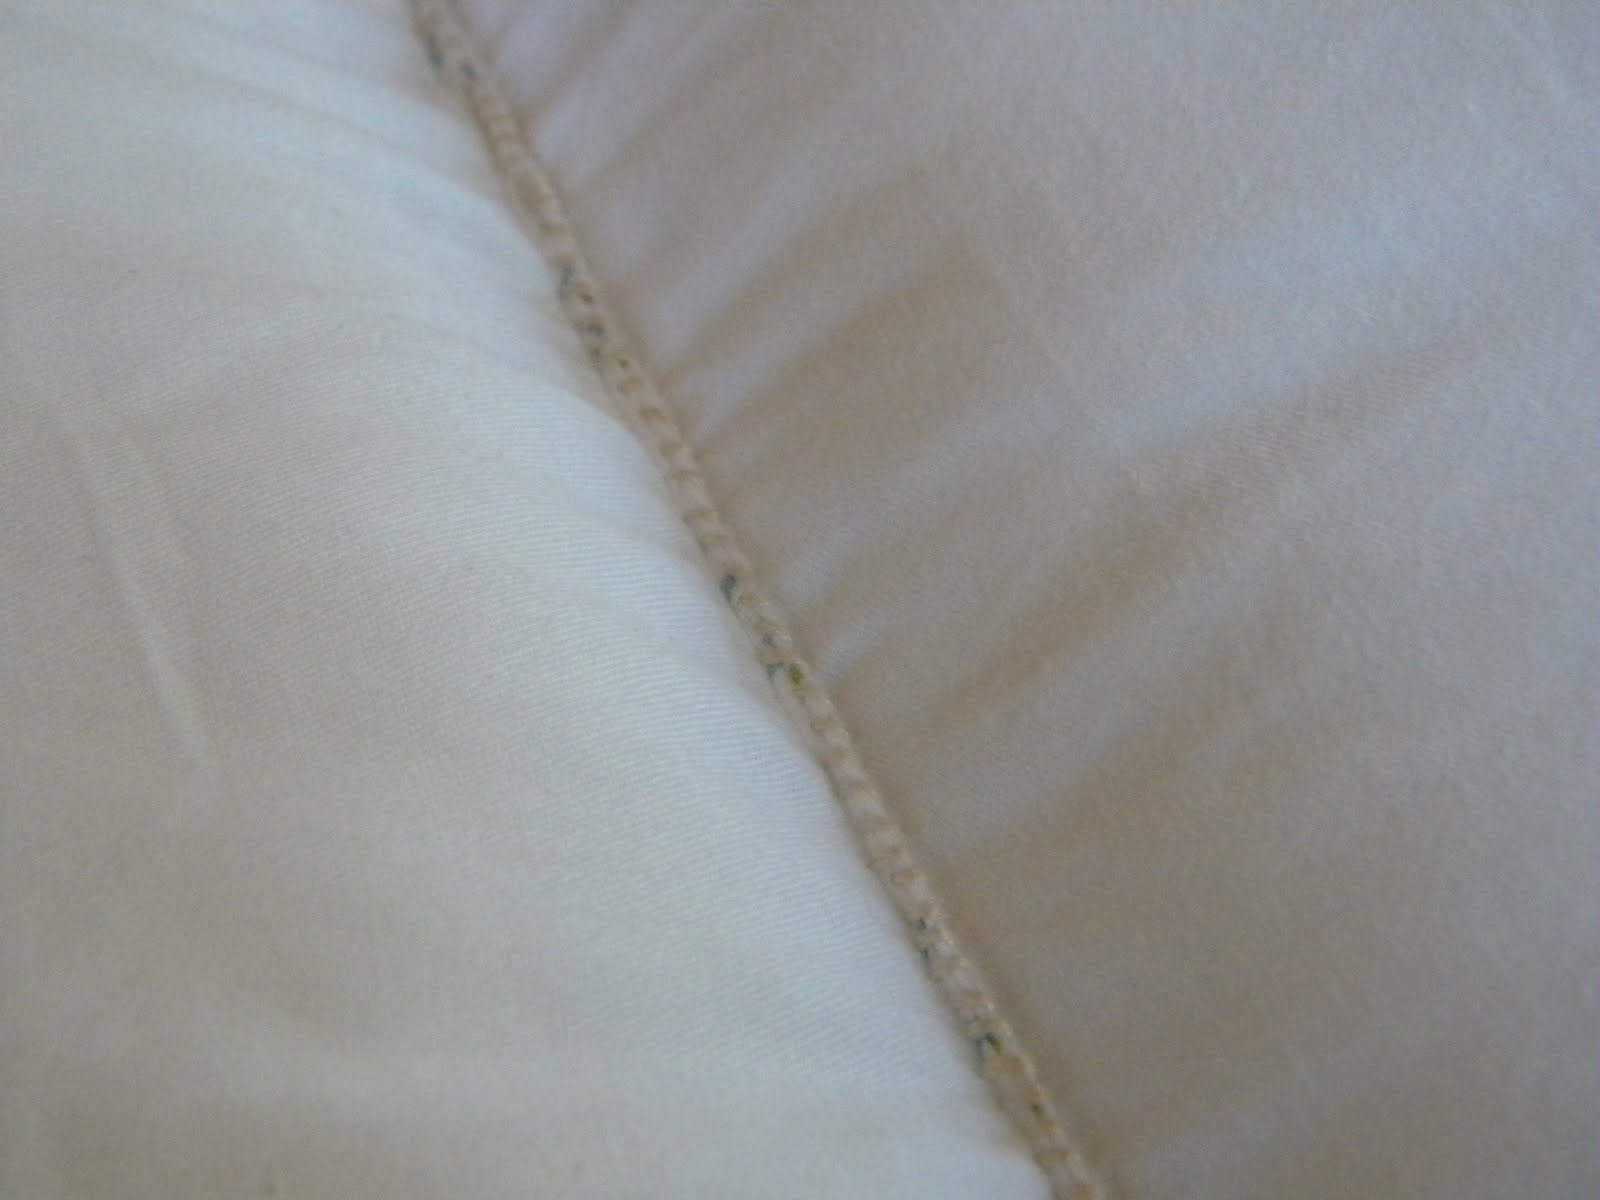
Your seam will look like this. Sew them all on the same side, so that the stitches will be on the bottom part of your bed.


This is what it should look like when you've sewed all the seams.


I wanted to make a cute cover for it (I'm still going to and I'll post pics when I do) but I'm short on time, since I need it for tonight.  So, I took a twin fitted sheet, and put it over it.


Even though it is slightly big for it, the elastic keeps it on there nicely!  Then, just take some wide ribbon,(or make your own out of fabric) and cut a 42" piece (more or less depending on the thickness of the pillows you chose) Fold the ends over 1/2" and hem them so they don't fray. Then sew on a fastener, such as snaps, or velcro.  I chose velcro squares.  Now roll up your pillow bed, wrap the strap, fasten, and you're ready to go!


Not the prettiest thing in the world with the fitted sheet (once again, beautiful covers will be made SOON) but oh so comfy! C-babe gives it 2 hands up!


And, if you kept all the seams to the same side, it becomes a comfy seat as well.  You can use it just about anywhere. Happy camping!


-Kelly


Search This Blog